
Forget the charcuterie board this fall season and make these individual mini charcuterie pumpkins that double as decor for your table instead! They’re perfect for any fall gathering, pumpkin party, Halloween, Friendsgiving or Thanksgiving! Mini pumpkins become the holder for snacks like cheese, crackers and meats and anything else you might find on a typical charcuterie board.
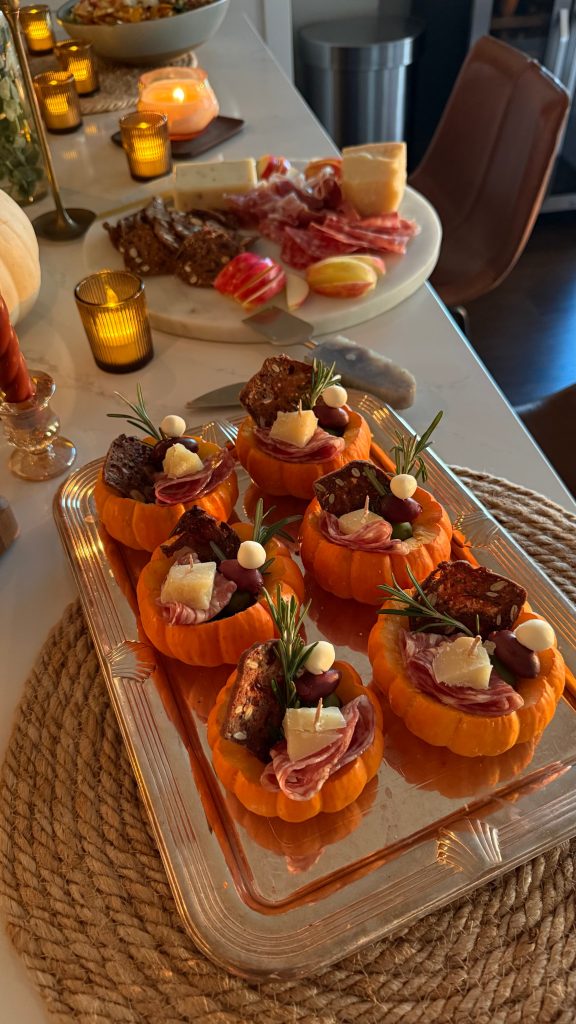
Fall Charcuterie Board Idea…but with Pumpkins!
If you’re bored of the typical fall charcuterie board, let me introduce you charcuterie pumpkins! These are sure to be a hit for any fall or holiday entertaining and they are just as easy to make as putting together a charcuterie board. Don’t worry, the mini pumpkins are super easy to cut.
I look forward to making these every year for my annual fall girls night pumpkin party because not only are they fun to eat, but they just look so cute and chic styled on the table. I love serving them on a silver tray which just elevates the look even more and screams Martha Stewart Halloween (my dream!).
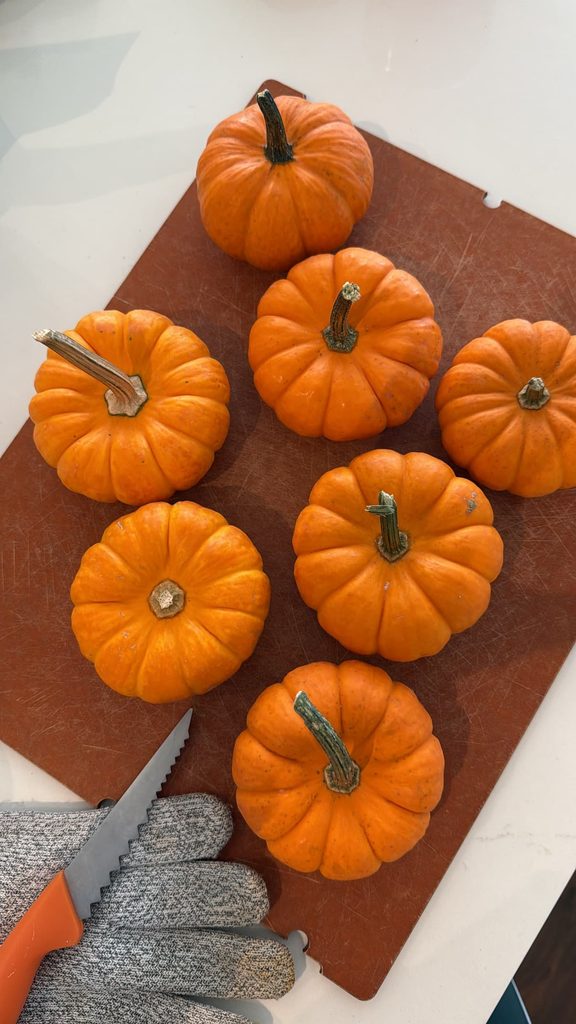
And if you’re worried that they will take a lot of time to cut and assemble, the mini pumpkins are actually easier to cut then they look. I thought because they’re hard, they wouldn’t cut well at all, but with a standard pumpkin carving knife and a cut glove, they’re surprisingly easy to cut.
There are so many fun charcuterie items you can pop into these mini pumpkins for the season! Below I’ve outlined exactly what I put in mine with some additional suggestions for how to make these for Halloween (hint jack-o-lantern face) and a personalized touch for Friendsgiving.
If you make them, I’d love to see! Be sure to tag me @onceuponapumpkin.
Ingredients for Charcuterie Pumpkins
- Mini pumpkins
- Pumpkin carving knife
- Cut glove
- Toothpicks
- Charcuterie items
- black and green olives
- cubed cheeses
- pearl mozzarella
- crackers
- meats like salami, prosciutto
- fresh herbs like sage and rosemary
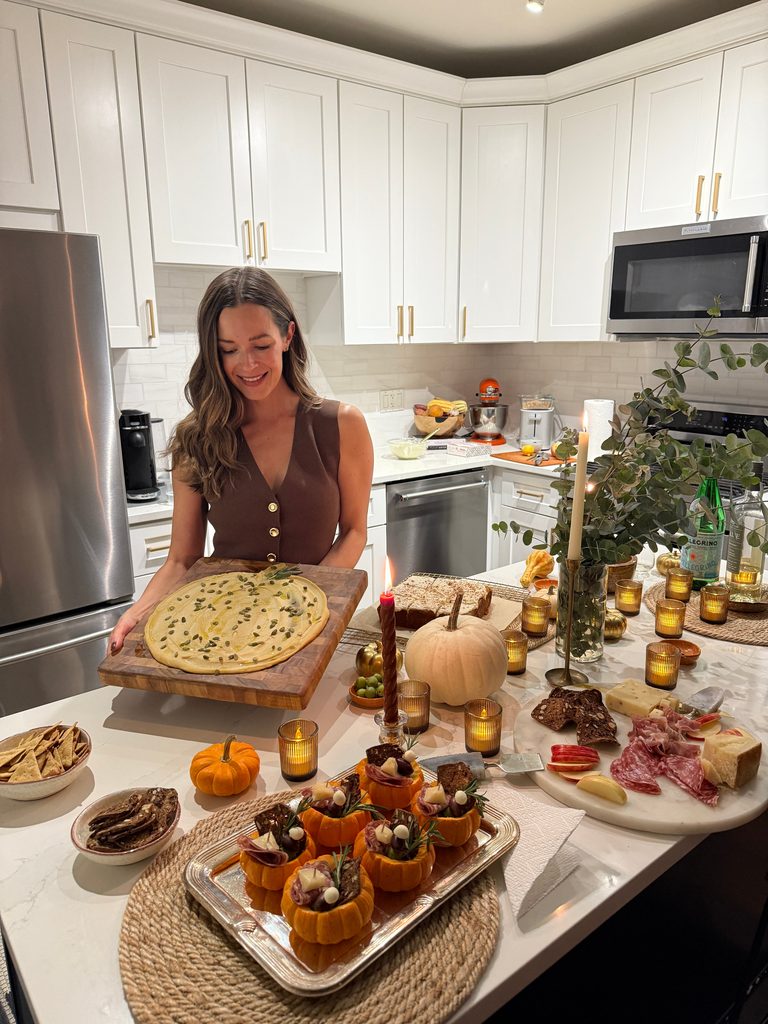
How to Make Charcuterie Pumpkins
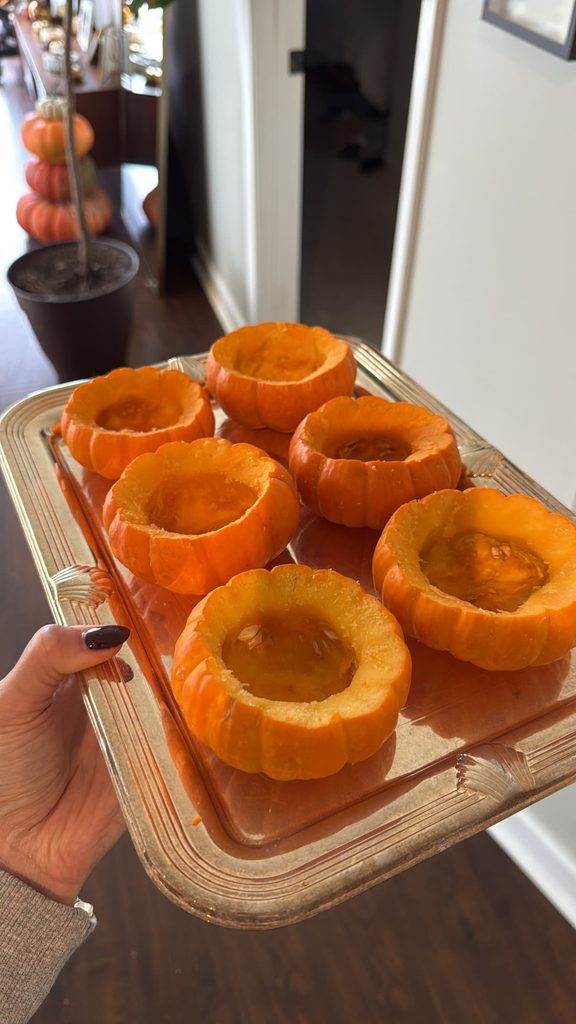
Carve the mini pumpkins. Using a pumpkin carving knife and a cut glove (please wear one just to be safe because these little pumpkins can move and roll while you’re trying to cut!), cut around the top of the pumpkin. About 2 inches from the stem would be good so that you have a nice rim and are utilizing all of the inside area of the pumpkin. Scoop out any of the stringy insides. You won’t be using the tops of the pumpkins so you can discard.
Prepare the toothpicks with the food items. Add your charcuterie items to toothpicks. Fold up the meats and place on a toothpick with a cube of cheese on top. Place olives on a toothpick, etc. I like doing all of one item at once. For example, I’ll make all the toothpicks with the meats and cheese at once and them place them all in the pumpkins.
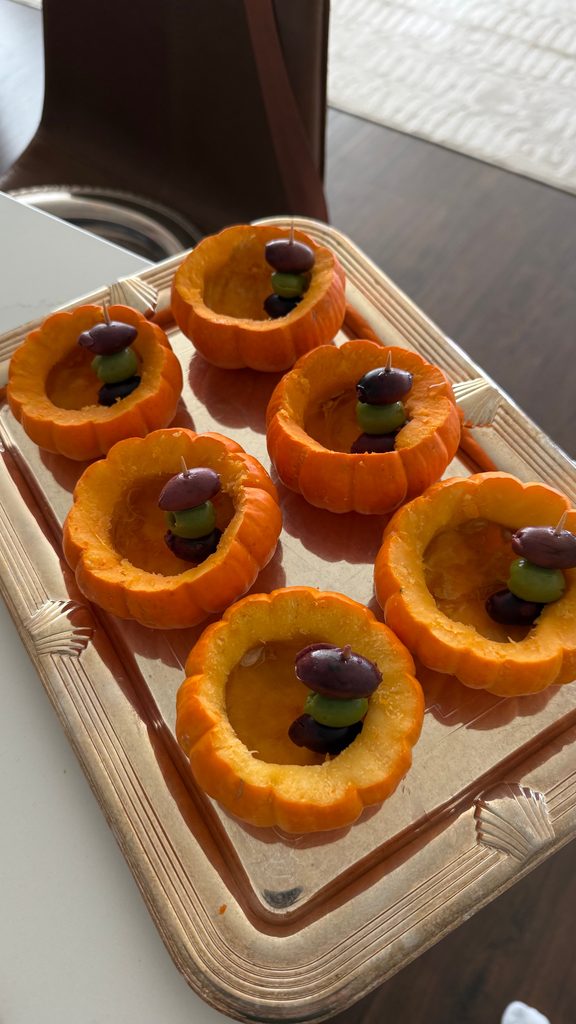
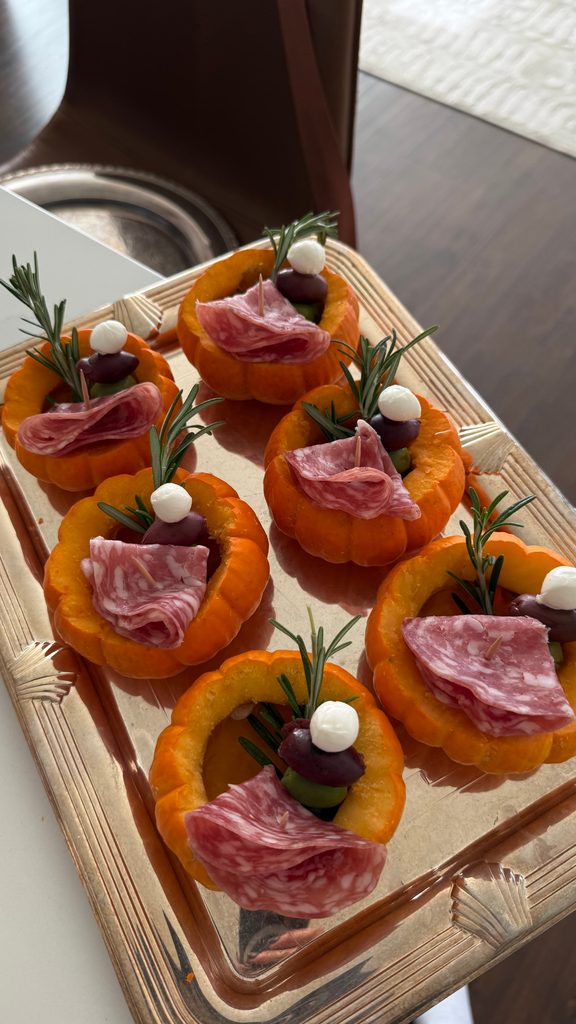
Place the toothpicks in the pumpkins. Arrange the toothpicks with the different items so that they are standing upright in the pumpkins. Put them all in the same place for each pumpkin so that they all look the same.
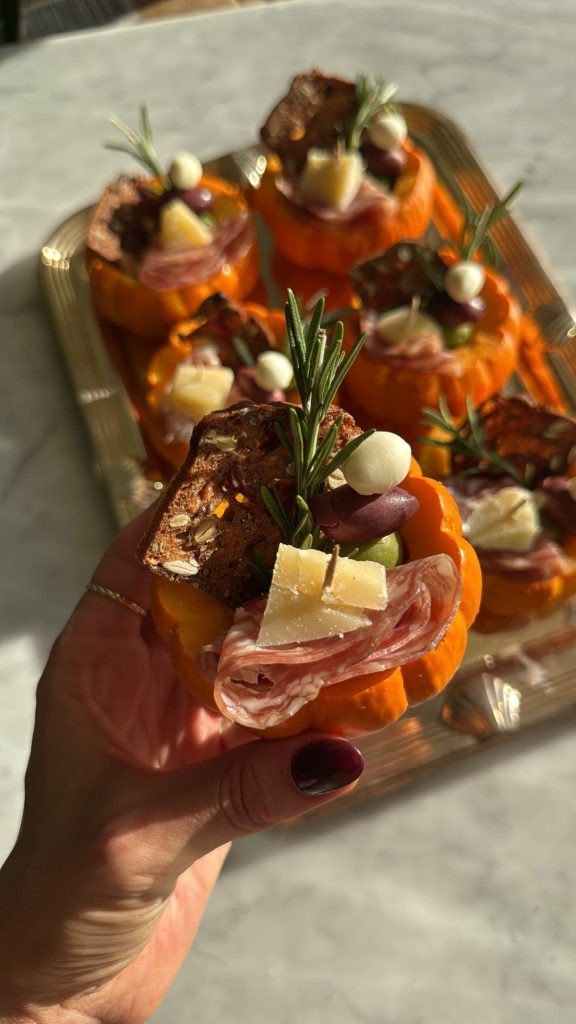
Garnish with a cracker and fresh herbs. These mini charcuterie pumpkins really pop off the table when you garnish with fresh rosemary or sage, and a fall cracker! Store in the fridge until you’re ready to serve and enjoy!
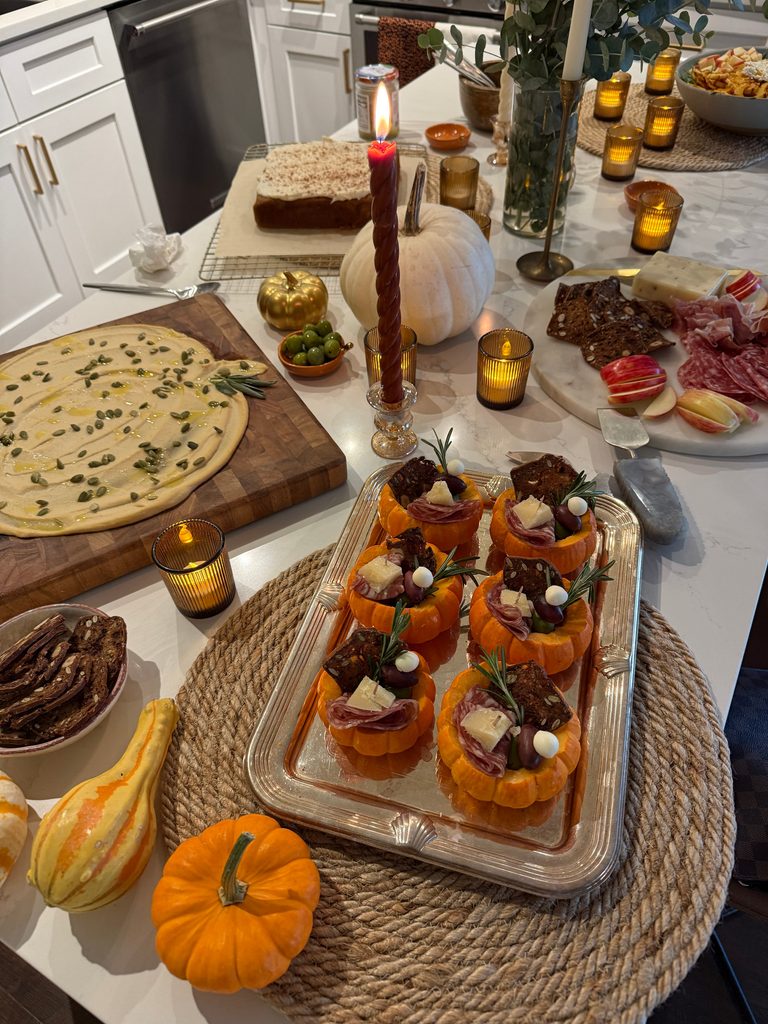
Holiday Ideas for Charcuterie Pumpkins
For Halloween
- Hummus & Veggie Pumpkins. Use a permanent marker to draw a jack-o-lantern face on each of the pumpkins. Add hummus to the bottom and put veggies like carrot and celery sticks, lettuce or kale, and sliced peppers in the bottom so they are standing upright out of the pumpkin.
- Nut butter & Apple Pumpkins. Add 2 tbsp of nut butter to the bottom of the pumpkin and then add sliced apples to the bottom so they are standing upright of the pumpkin.
For Friendsgiving/ Thanksgiving
- Personalized Pumpkins. Use a permanent marker to write each of your guests names on the pumpkins. Serve on a silver tray or at each persons spot at the table for a personalized touch!
Other Pumpkin Recipes You’re Sure to Love
